Right now, I am looking at the designs for the new Obra website. Earlier last week, I posted an update to the current website, changing my positioning from being a solo contractor to an agency founder looking to find the right people.
My intent is to have the correct mix of working on the business itself and on design projects. Obviously a big part of my week will be filled with design work, and as things get bigger, a bigger project might consume most of my attention in some weeks; but with this new mindset I have, it’s important to work on the actual business.
That means hiring, talking to the right people, getting out of my comfort zone and bringing the ideas behind my new venture out there: I’m here, and I want to grow my company. I want to grow it faster than my previous company Mono. I want to take the lessons from that period and do better.
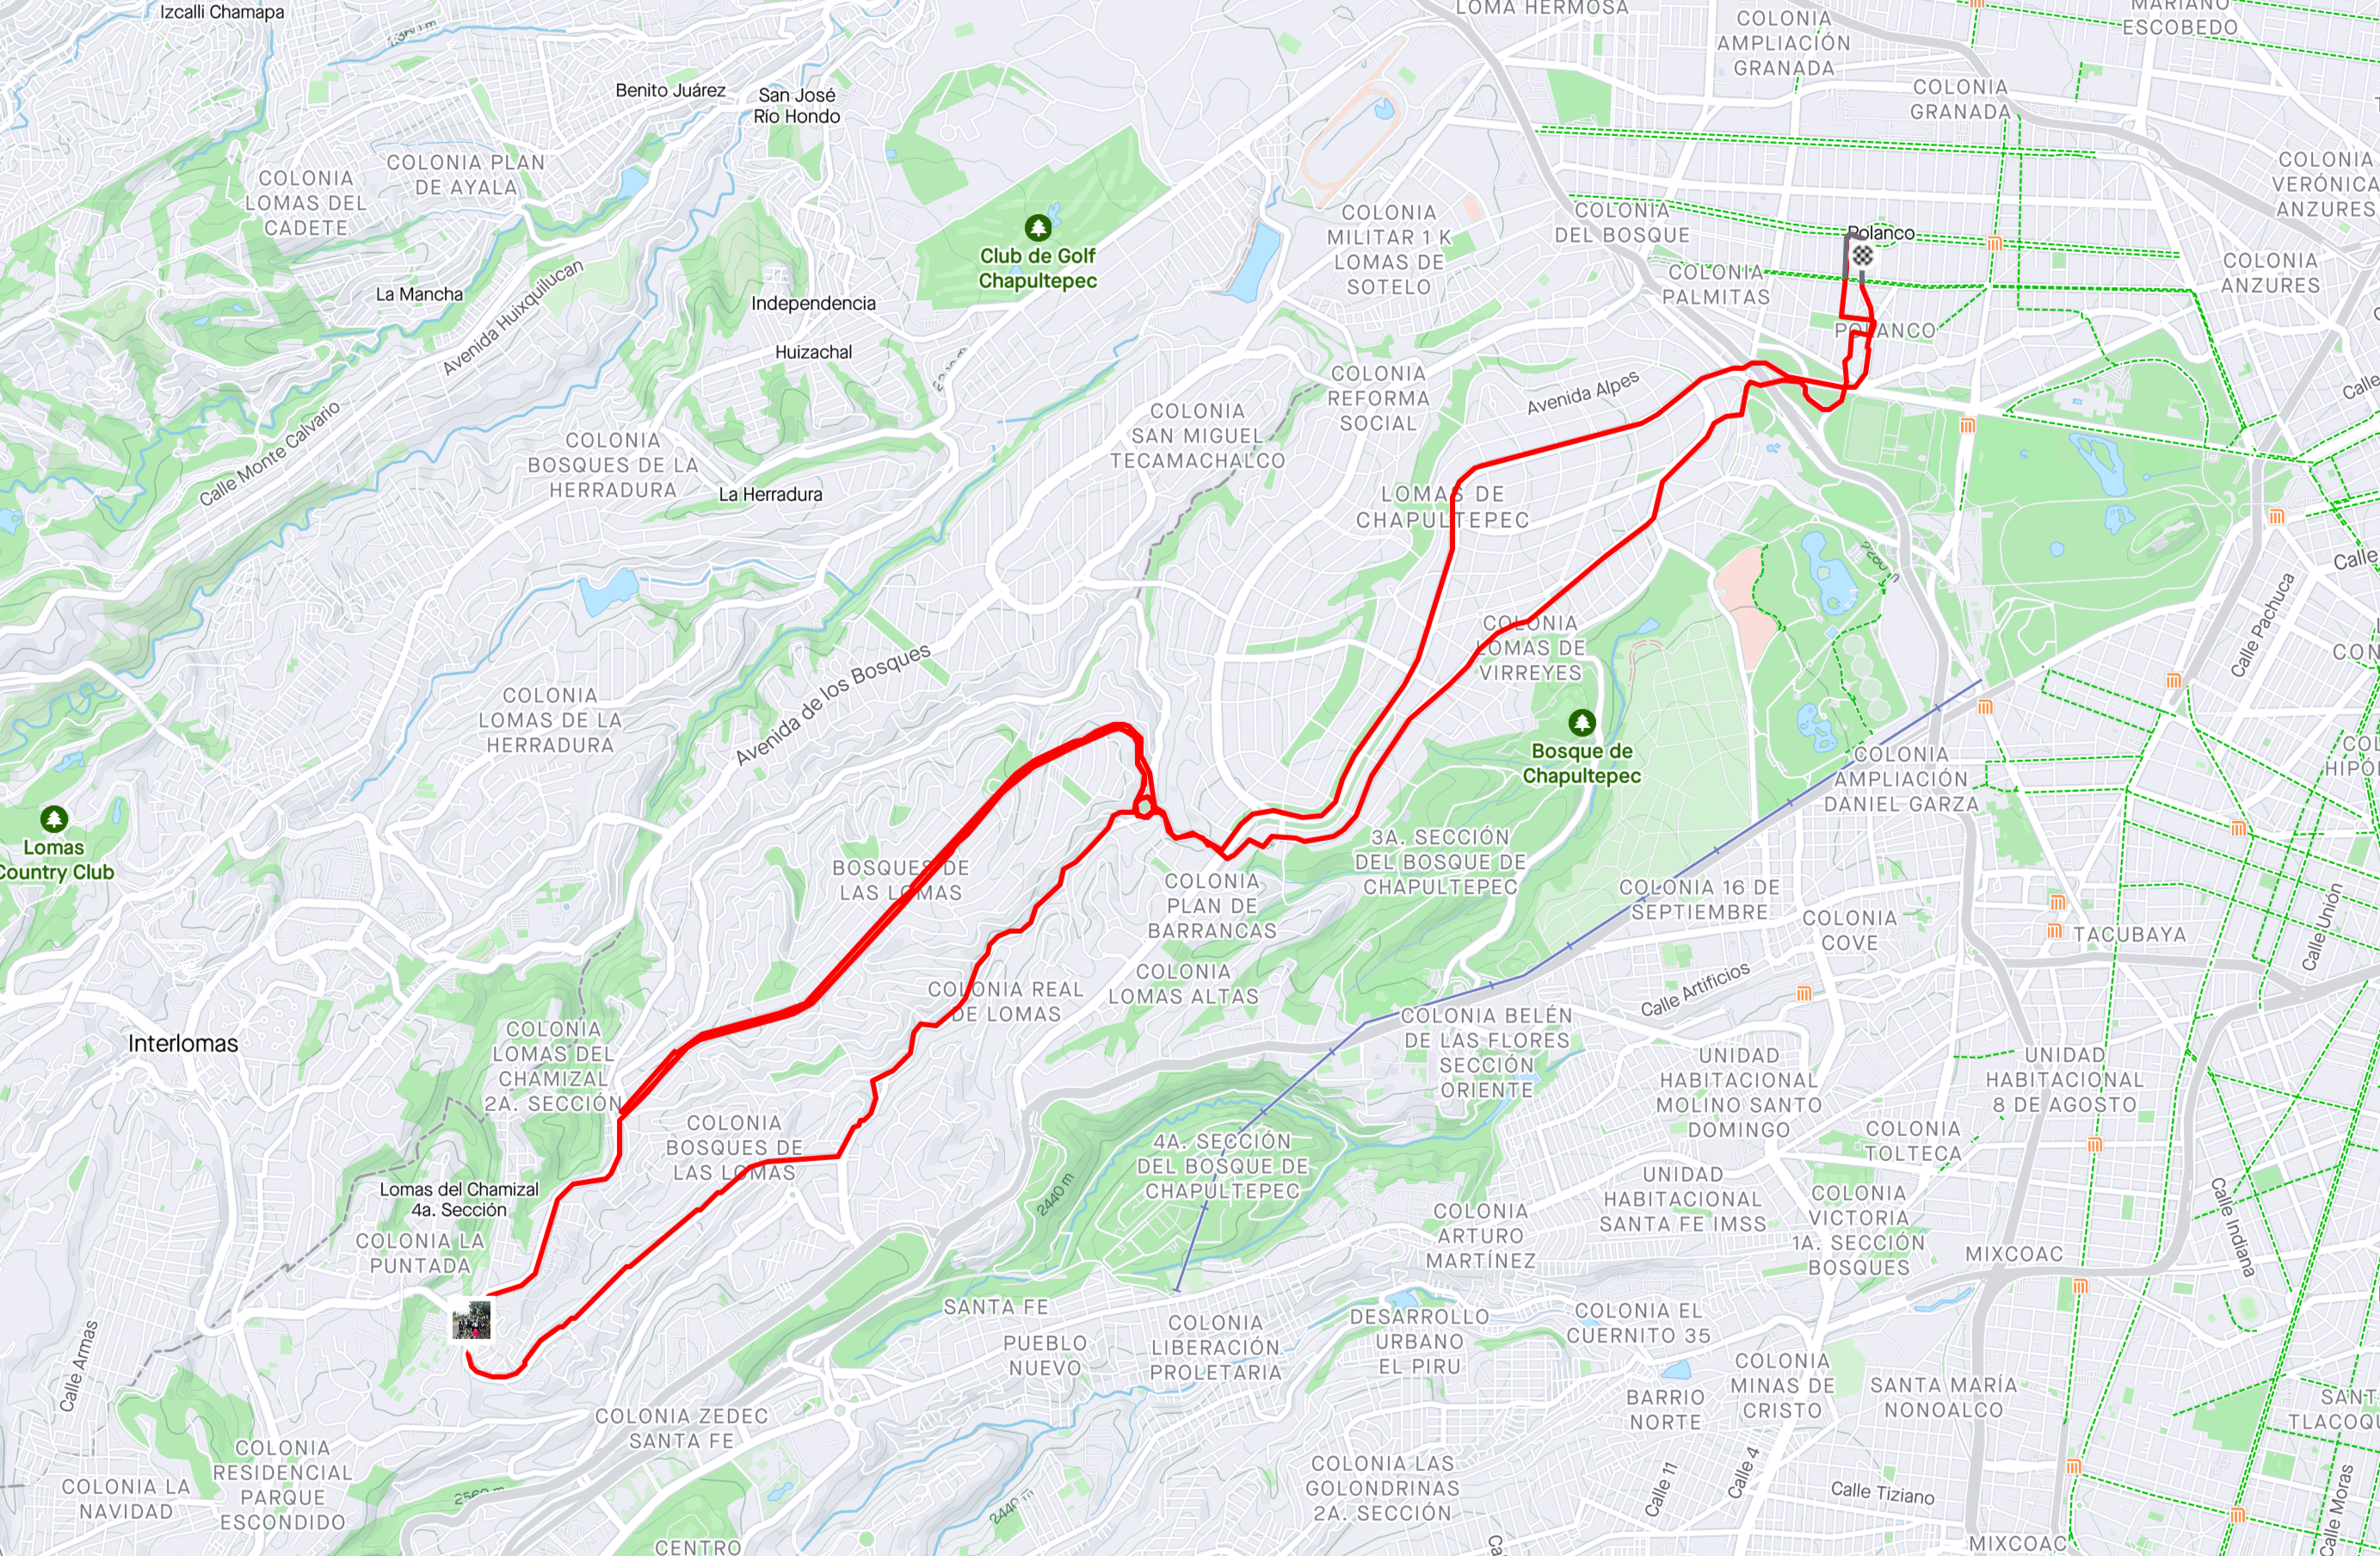
I was listening to the e-myth book on my walks around my neighborhood, Condesa. In this business book, the author narrates about the three different personalities living in all of us. The technician, the manager, and the entrepeneur. This book (thanks for the recommendation Ermeen!) is opening my mind: for a long time, I was a technician. I was focussed on the actual design projects, on executing them well, and not on the business part. The author states that most small business owners are 70% technician, 20% manager and 10% entrepeneur.
The technician fell in love with the technical aspects of their job. In my case design. For some period, there was nothing that I would rather do than make great design systems in Figma, convert those design systems to performant, accessible front-ends, and work on mostly technical aspects of a user interface. Do we need a dialog-on-dialog system, or should we go for panels? Should we use CSS modules, or do we try this new framework? The technician got their success from being a great technician; they are proud of knowing what they know; and they are ready to do the work.
The manager, he wants to manage the day to day. There are incoming client requests, there is someone who’s going on a holiday and we need to replace them, a vendor oversold their product and now we are stuck with something suboptimal. The manager, he seeks stability. He wants to make sure that everything is handled, and handled well. I was a manager for a while, in the Mono period, albeit for a small team.
Now we come to a part that I see myself taking more seriously now. The entrepeneur, he is the engine of change. He is discontent with the status quo, and he wants something better. He wants to have a bigger team, he wants to make more money, he wants to make his mark.
For the past 2,5 years, I have mostly been a technician. But in the past 6 months, the entrepeneurial side has awakened in me.
I’ve been living in Mexico for some time now, and I finally have the right to start a business here. My Spanish is getting better. I am meeting startup founders, VCs. I am discovering interesting small design studios that I didn’t know existed.
In my mind, this opens up a world of possibilities. I see what I did with Mono and how nice of a time it was; and I want to repeat that, but in new ways.
I get a little bit angry when I see bad design. When I observe what’s around me, I see so much opportunities to do better.
I want to help designers up their craft; I want to ship the work that I would be proud of; and I want to do it in an outfit that makes sense. Big enough to make a difference; small enough to keep that drive for quality alive, with an obsessive focus on quality.
How can you help?
- I am looking for a business partner to lead operations in Belgium for Obra Studio. The job description is here. If you know someone, make sure to sent them this!
- I am looking for freelance designers (coding designers or pure UI/UX) to help drive the first projects of Obra. Book a call to get to know each other — or if we know each other already, to get up to date — here.
- Lastly, some real-life aspects:
- I am looking to meet up and have a coffee with the right people in Mexico City the first few weeks of January. Startup founders, local designers, UI developers, product managers. Get in touch via my e-mail: johan@obra.studio. I will be organising a new Tacos y Tecnología in January. Keep an eye on my Bluesky account.
- From end of January to mid february I am in Belgium, same deal: looking to talk to the right people. I will visit startup places like Corda Campus, Wintercircus Gent, and a few companies in Antwerp. Get in touch!
Lastly, I wish everyone great holidays, to have a nice time with family, and to start off 2025 with lots of positive energy.
—Johan